
Cakes on a Plane!
< Back to beginning | Next step: Fill & Frost >
Bake
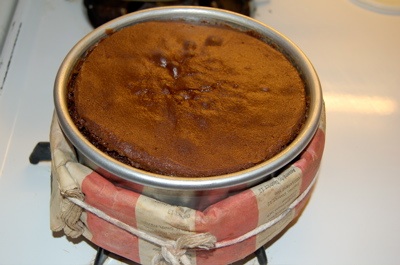
The 6" tier, the top of the cake, before baking…
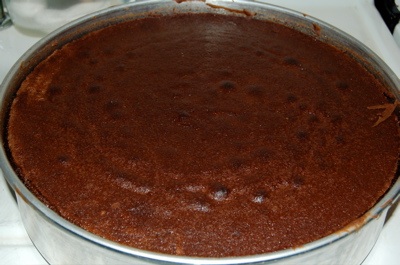
…and after. Since there's so little batter, it's difficult to make a proper dip. The top ends up a bit puckered, but since I'll invert each tier, it'll be hidden against the cardboard.
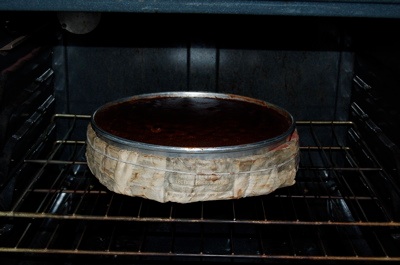
The layers bake as close to the center of the oven as possible. The 12" layer below is almost done, but the middle of the cake still jiggles when I shake the pan and its edges have not pulled back. In another 10 or 12 minutes, I'll press the middle of the cake with my fingertips; when it springs back quickly and confidently, I'll know the cake is ready. A wooden skewer test is also a good sign, when it emerges from the center clean and free of batter.
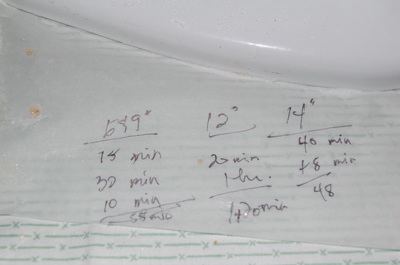
Since I haven't made this cake before, I take notes on baking times whenever I reset the timer. It's amazing how quickly I forget if I don't write down the information.
Leveling
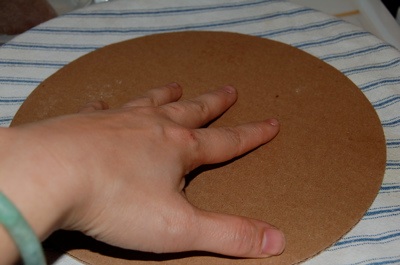
The top of the tiers are pretty flat when they come out of the oven. Just to be sure, as soon as I remove them, I drape a clean towel over the top and press a cardboard round down on it gently, moving the round several times for an even surface. The cake should still be hot (take care to avoid the steam). This compacts the middle slightly. In addition to flattening the cake, this will strengthen the middle of the larger tiers in order to help support the cake's risers.
You can see here where the edge of the cake has pulled away from the pan slightly. I leave the cake in the pan to cool completely to avoid mishaps (the hotter a cake is, the more likely it is to break and stick to the pan.) Remember to remove the newspaper strips and then place the pan on a rack or trivet high enough to allow air circulation under the pan, as the big cake will retain a lot of heat at its center. Before inverting the cake out of its pan, run a paring knife around the edge for a clean release.
Cooling
I don't have enough counter space in the kitchen, so the cake tiers sit in the living room waiting for each other to finish cooking and cooling.
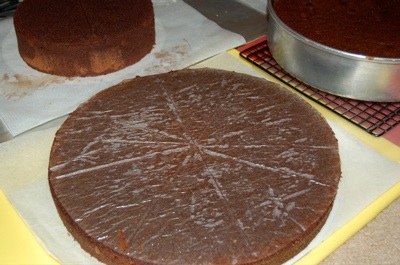
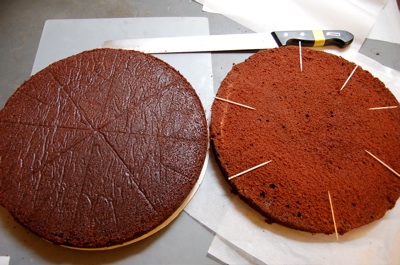
The parchment paper rounds retained their creases from when I cut them into rounds and pressed a pattern into the cakes while they baked. Fortunately, the lines will be covered by frosting.
Before splitting the cakes, I will chill them a in the refrigerator for greater sturdiness. Parchment wrapped around the edge keeps them from drying out or soaking up other flavors.
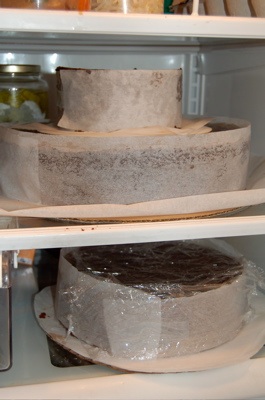
Both of the 14" layers are returned to their pan, with parchment in between, and then balanced on some leftovers.

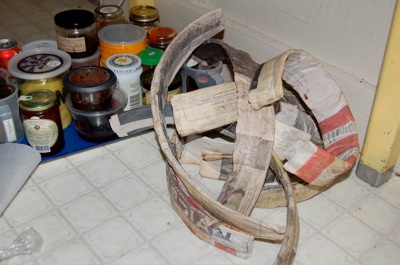
The dried out cake pan strips pile on the floor next to condiments evicted from the fridge. I end up snacking a lot while I bake, partly because there's no room to cook meals in the kitchen and partly because I keep rediscovering favorite pickles and jams.
Splitting the layers
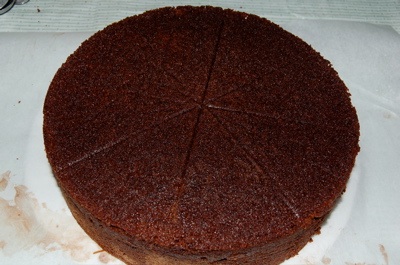
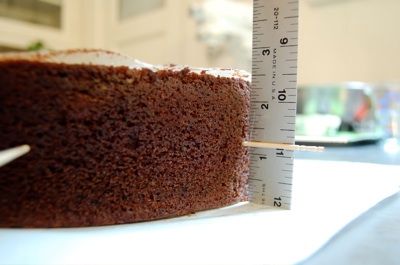
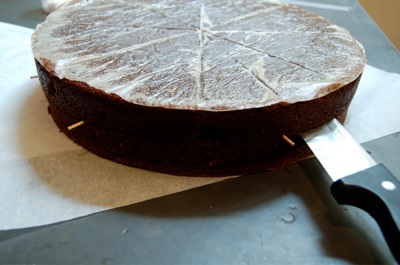
In the morning, after the cakes are cold and firm, I prepare to split each tier into two layers. I measure off the sides of the cakes. Each tier baked to 2 1/2 inches, so I mark each tier at 1 1/4 inch with 6 to 8 toothpicks. It's important that the top edge—not the point—of the toothpick falls at the desired height.
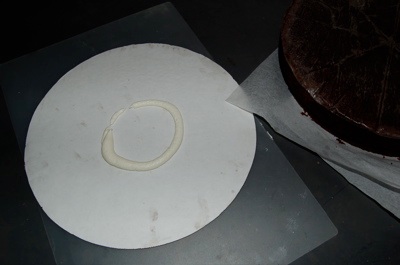
Before splitting the cake, I swirl a small amount of frosting on one of the cardboard rounds. This will act as glue to secure the cake to its support.
A long, hollow-edge slicing knife allows me to press through firmly in one steady sweep. If the tier were wider than the length of my knife's blade, I'd score once around the cake to create a guide line and then continue cutting inward. Dental floss wrapped around the cake and pulled tight will also split the cake accurately and cleanly.
If I were more ambitious, I would split the cake into three layers. But thinner layers means working with more delicate cake that can fall apart more easily, and it means eating a lot more filling. Since the focus of this cake is the chocolate part and not the raspberry filling, I'm thinking (rationalizing?) that two layers is better.
Below is the split cake, with the top layer on a cardboard round. Since the cake shrinks slightly as it bakes, a small amount of cardboard is visible around the cake. This is usually around 1/4-inch, the perfect amount of frosting, so the extra cardboard ends up being a great guide later for judging an even layer of frosting.
Secret ingredient
Since I'm planning to freeze the cake with dry ice for transport to the wedding (which involves a plane ride and a 4-hour drive over a range of mountains) and since the wedding is still three days away, I decide to brush the cake layers with chocolate syrup to add and retain moisture.
And since I have to clear out the freezer and since my bottle of wine is long empty, I figure that a chocolate cocktail is in order. Equal amounts of chocolate milano syrup, vodka and whole milk in a martini glass helped get me through the next phase of the wedding cake…

June 2006
© Thy Tran