Cakes on a Plane!
< Back to beginning | Next step: Assemble >
Fill & Frost
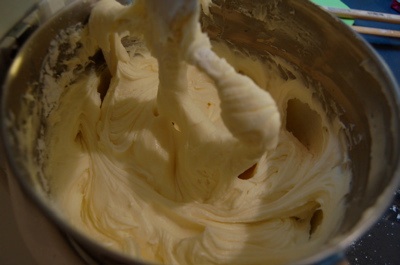
The frosting will be based on cream cheese and powdered sugar. Although fondant is the trend now, both the bride and I hate the stiff, sweet confection. My own favorite frosting is a combination of creme fraiche and whipped cream, but I need to be sure the frosting is stable enough to survive unknown hours of travel and display. The stabilizers added to cream cheese and the cornstarch added to powdered sugar will help my frosting hold up to distance, heat, time and an "open-ended" approach to decorating, as I have no idea what the kitchen facilities or the cake serving schedule will be. Butter, lemon juice and a pinch of salt are the only other ingredients. Since I'm using only butter (and no shortening) the frosting will be ivory rather than pure white, a small sacrifice for wonderful flavor and mouthfeel. (Factoid: butter softens below body temp, literally melting in your mouth, while hydrogenated fats stubbornly coat your tongue.)
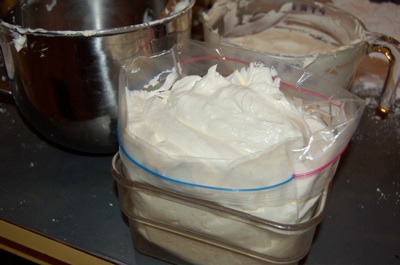
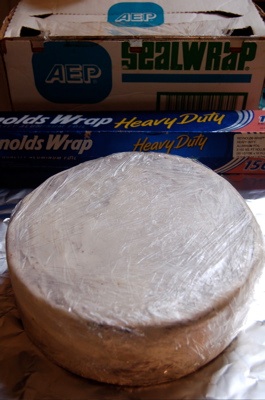
The finished cream cheese frosting goes into large, heavy-duty ziptop bags for storage and transport. Folding back the top keeps the zip-top clean and opens the bag wide, while a container holds it upright for the two-handed job of scraping the bowl and filling the bag.
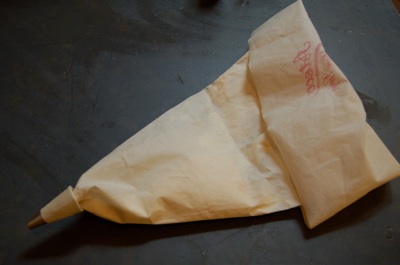
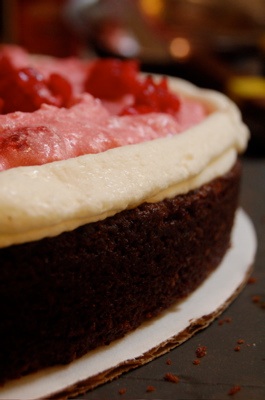
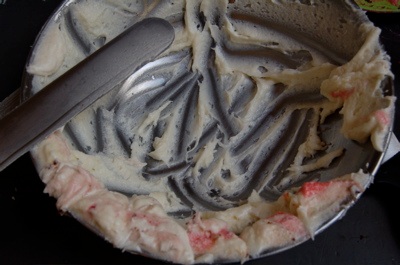
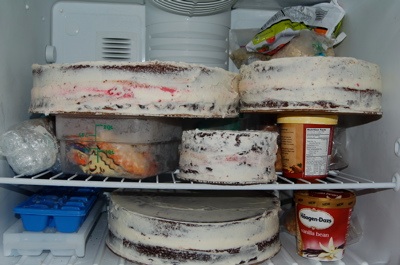
To make the raspberry filling, I folded raspberries into the some of the cream cheese frosting (frozen berries that were defrosted completely and drained well). Piping a ring of frosting around the cake's edge first helps "dam" the filling, so that it doesn't leak later and stain the frosting on the sides of the cake. This filling actually curdled slightly after sitting with the raspberries. If you look closely, you might be able to make out the tiny white spots in the pink filling. Fortunately, there was no change in flavor. It was midnight and there were no more raspberries and I was tired… so I crossed my fingers and hoped that no one would notice.
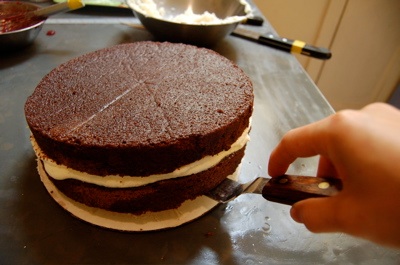
Stacking the layers
The handy offset spatula comes to my aid as I maneuver each layer.
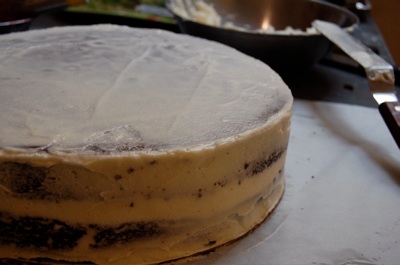
Next comes the crumb coating. This thin inner layer of frosting traps crumbs and will help prevent bits of cake from appearing on the finished surface of the frosting, particularly important with the contrasting colors of chocolate and cream cheese.
This is it for the wedding cake prep in my own kitchen. The rest of the job—frosting, stacking, and decorating the tiers—will happen on-site.
June 2006
© Thy Tran